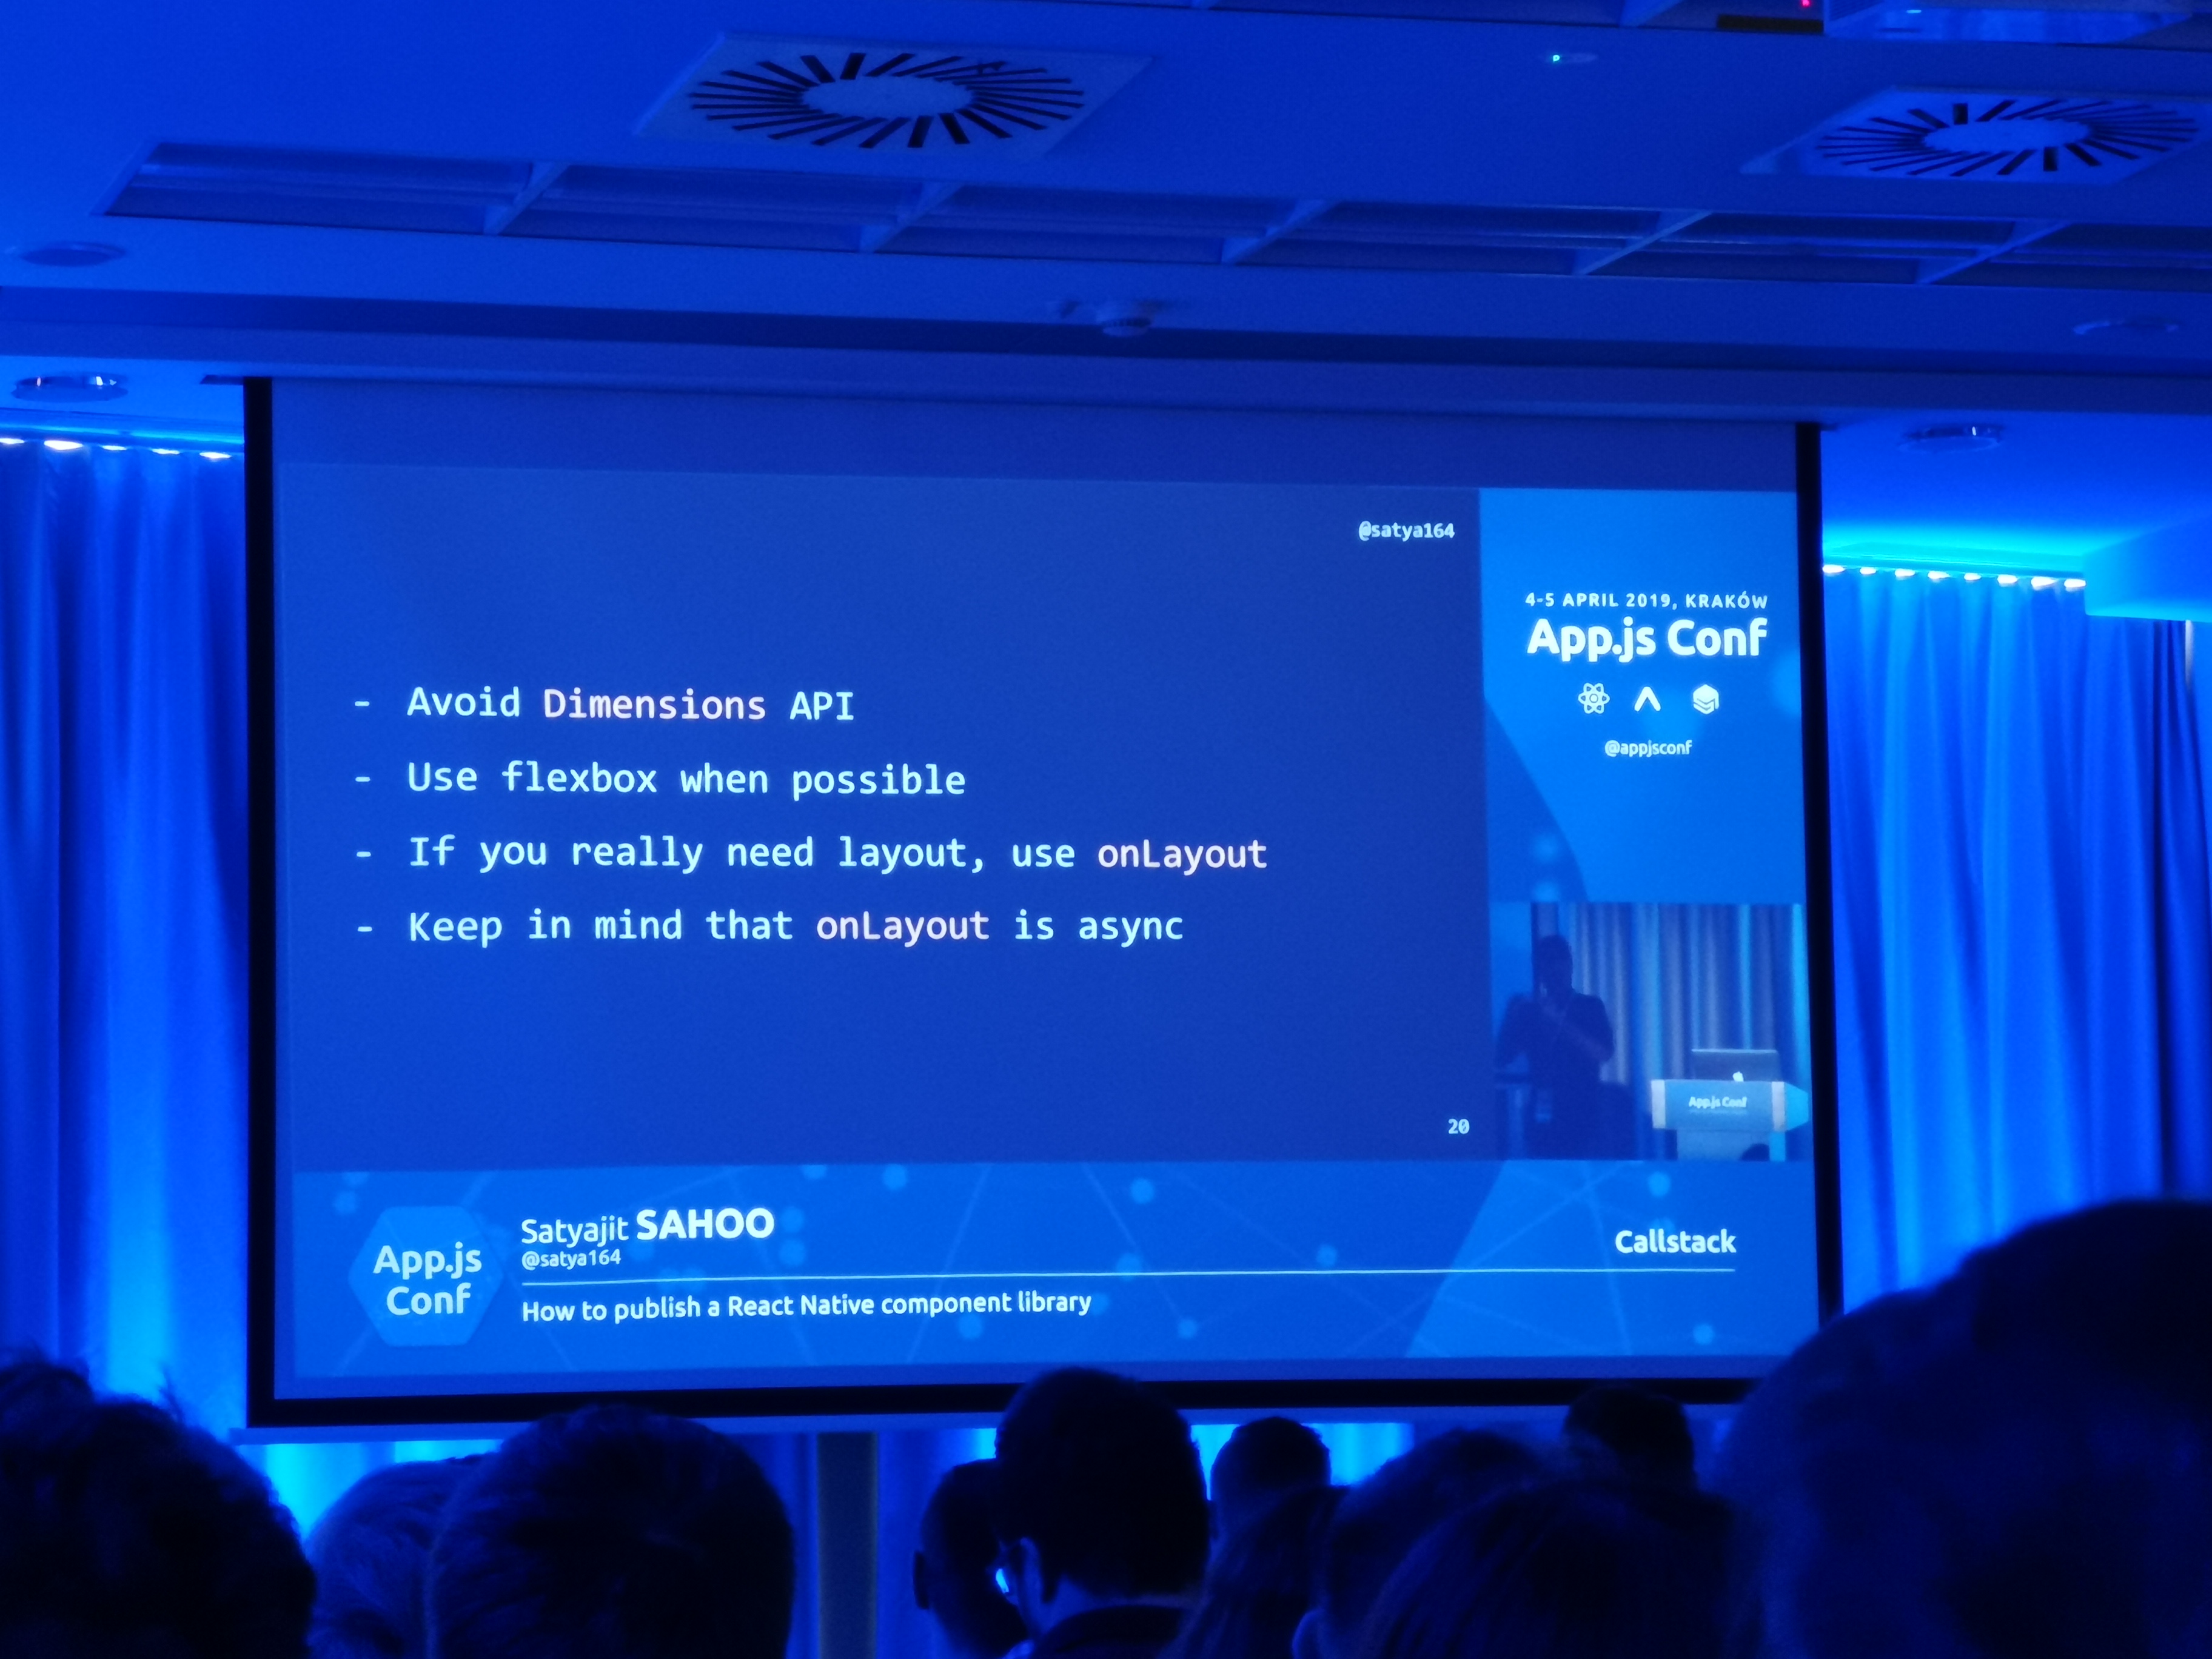
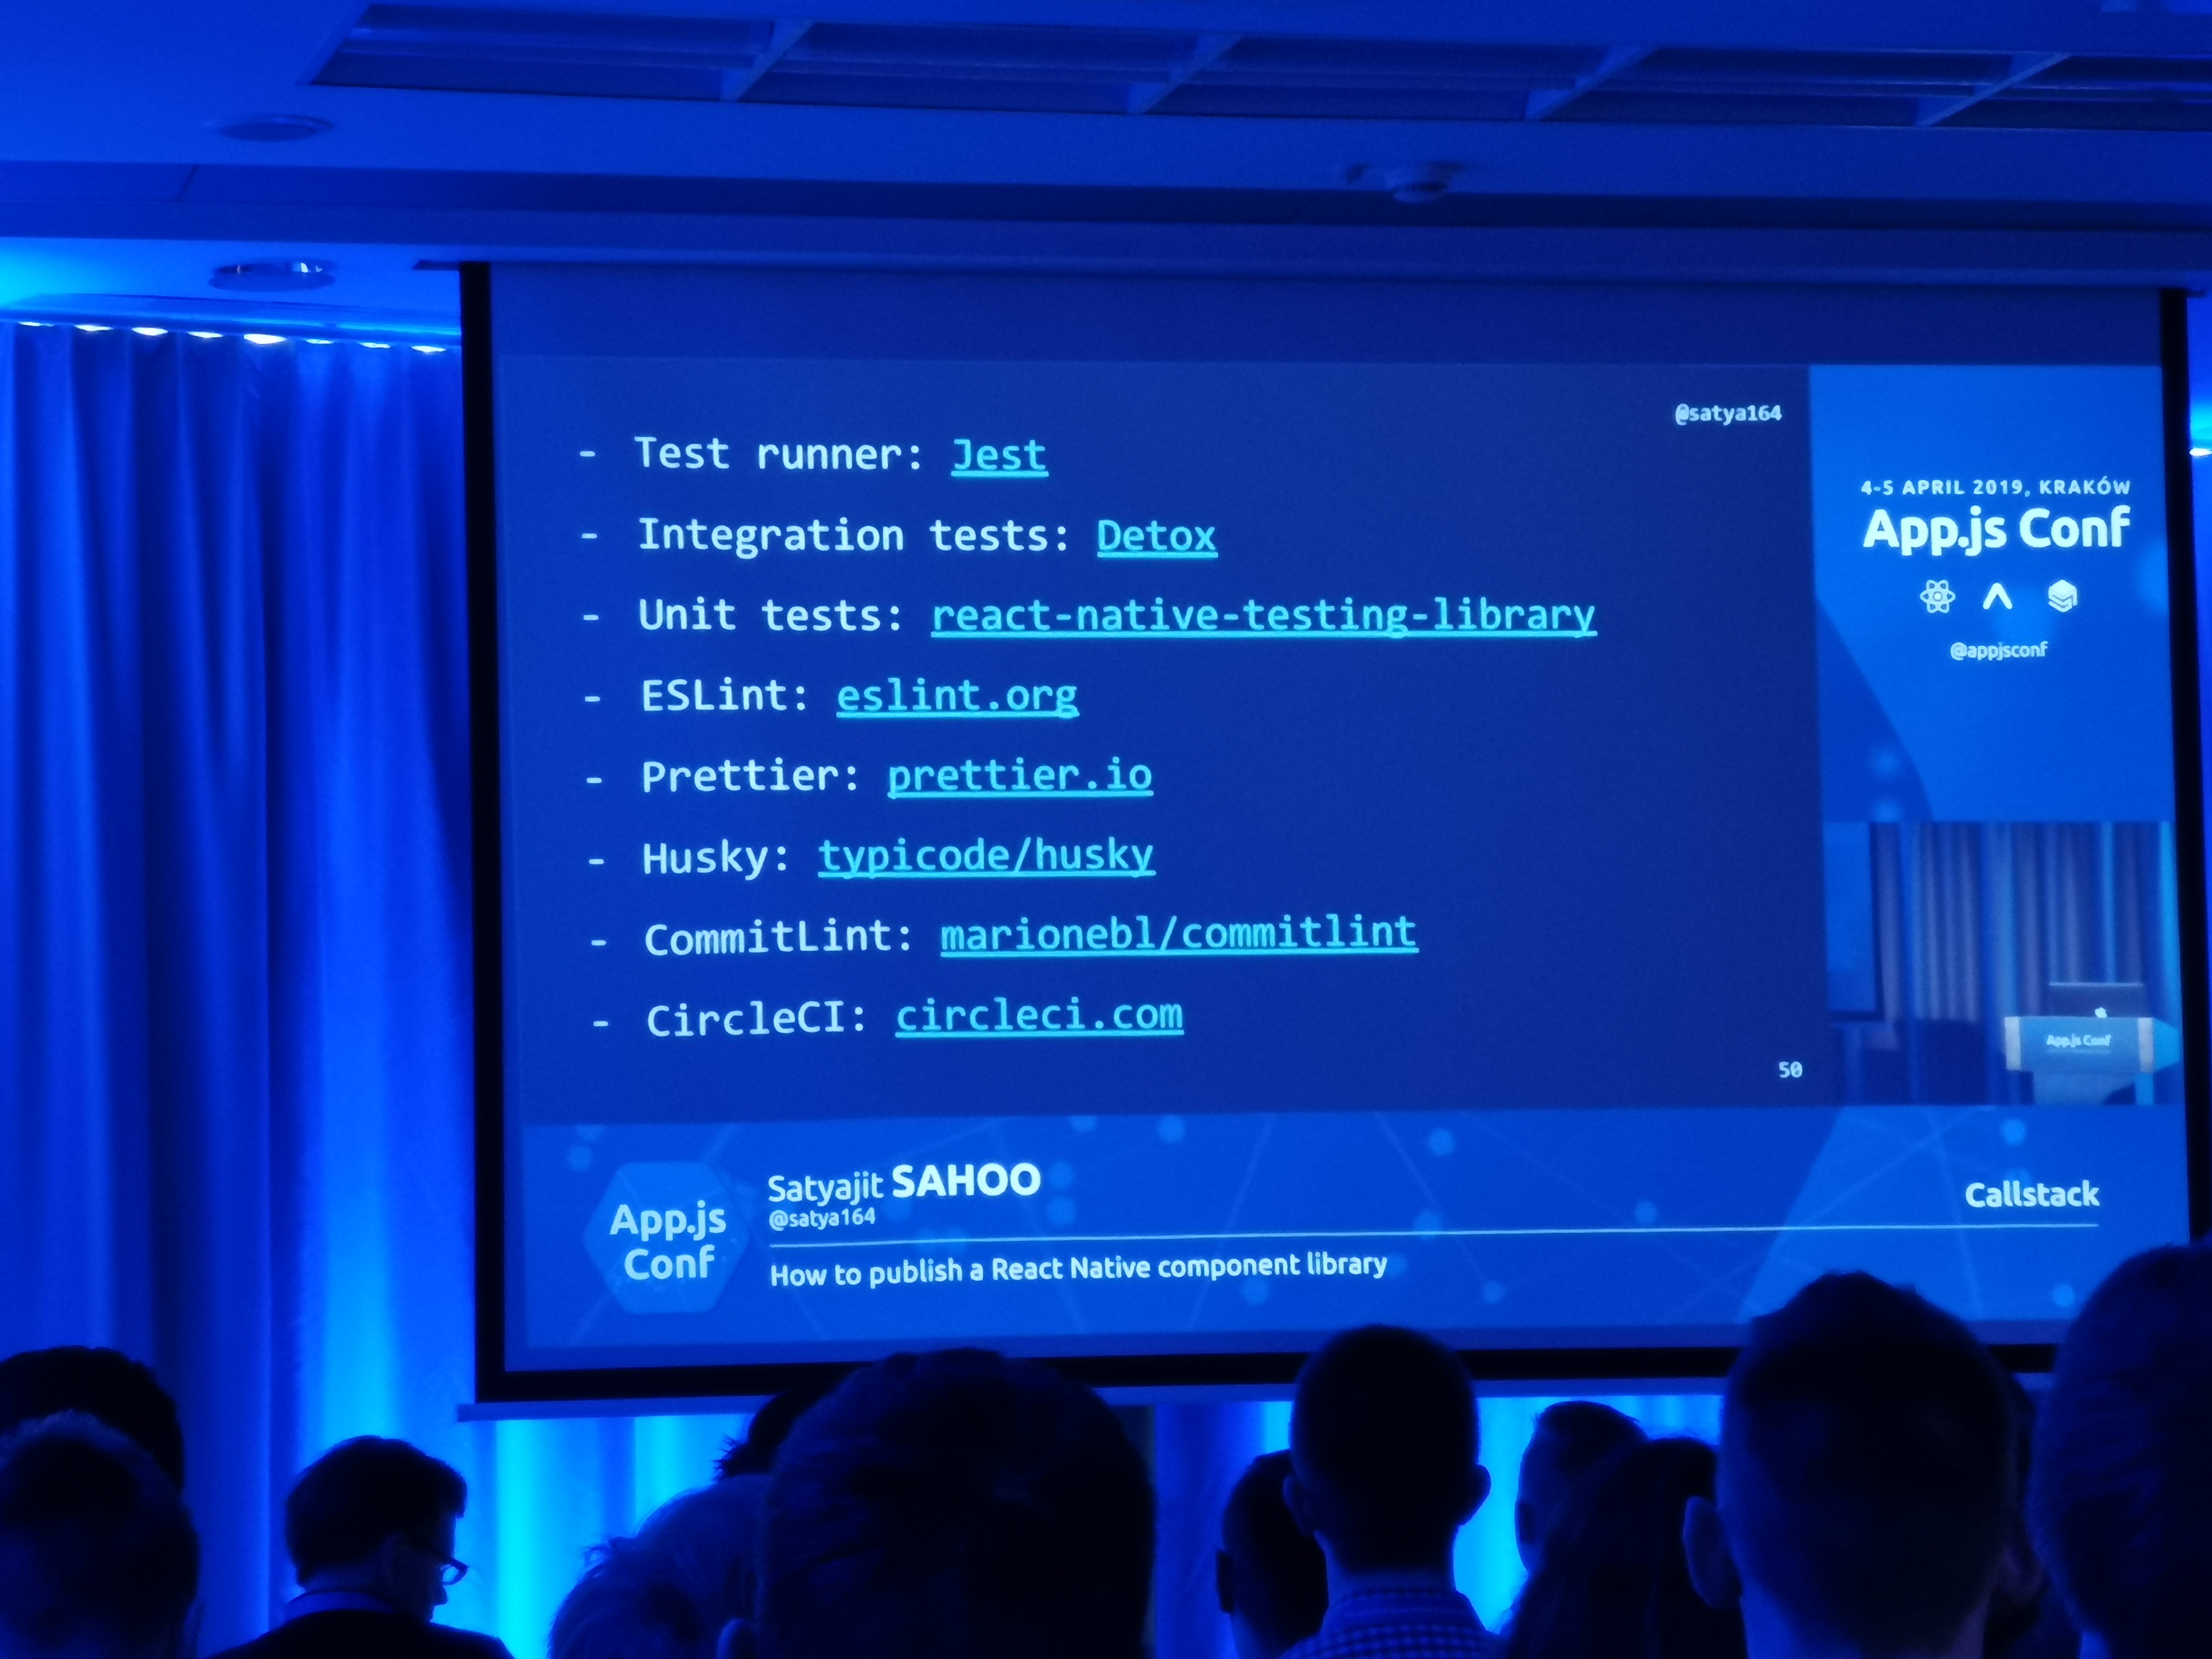
Last week I’ve attended the Expo and React Native conference in Krakow and wanted to share what I’ve learned. The first day was filled with speeches wide ranging and informative to developers of all levels. For example, some experienced developers shared their best practices for building apps in React Native:
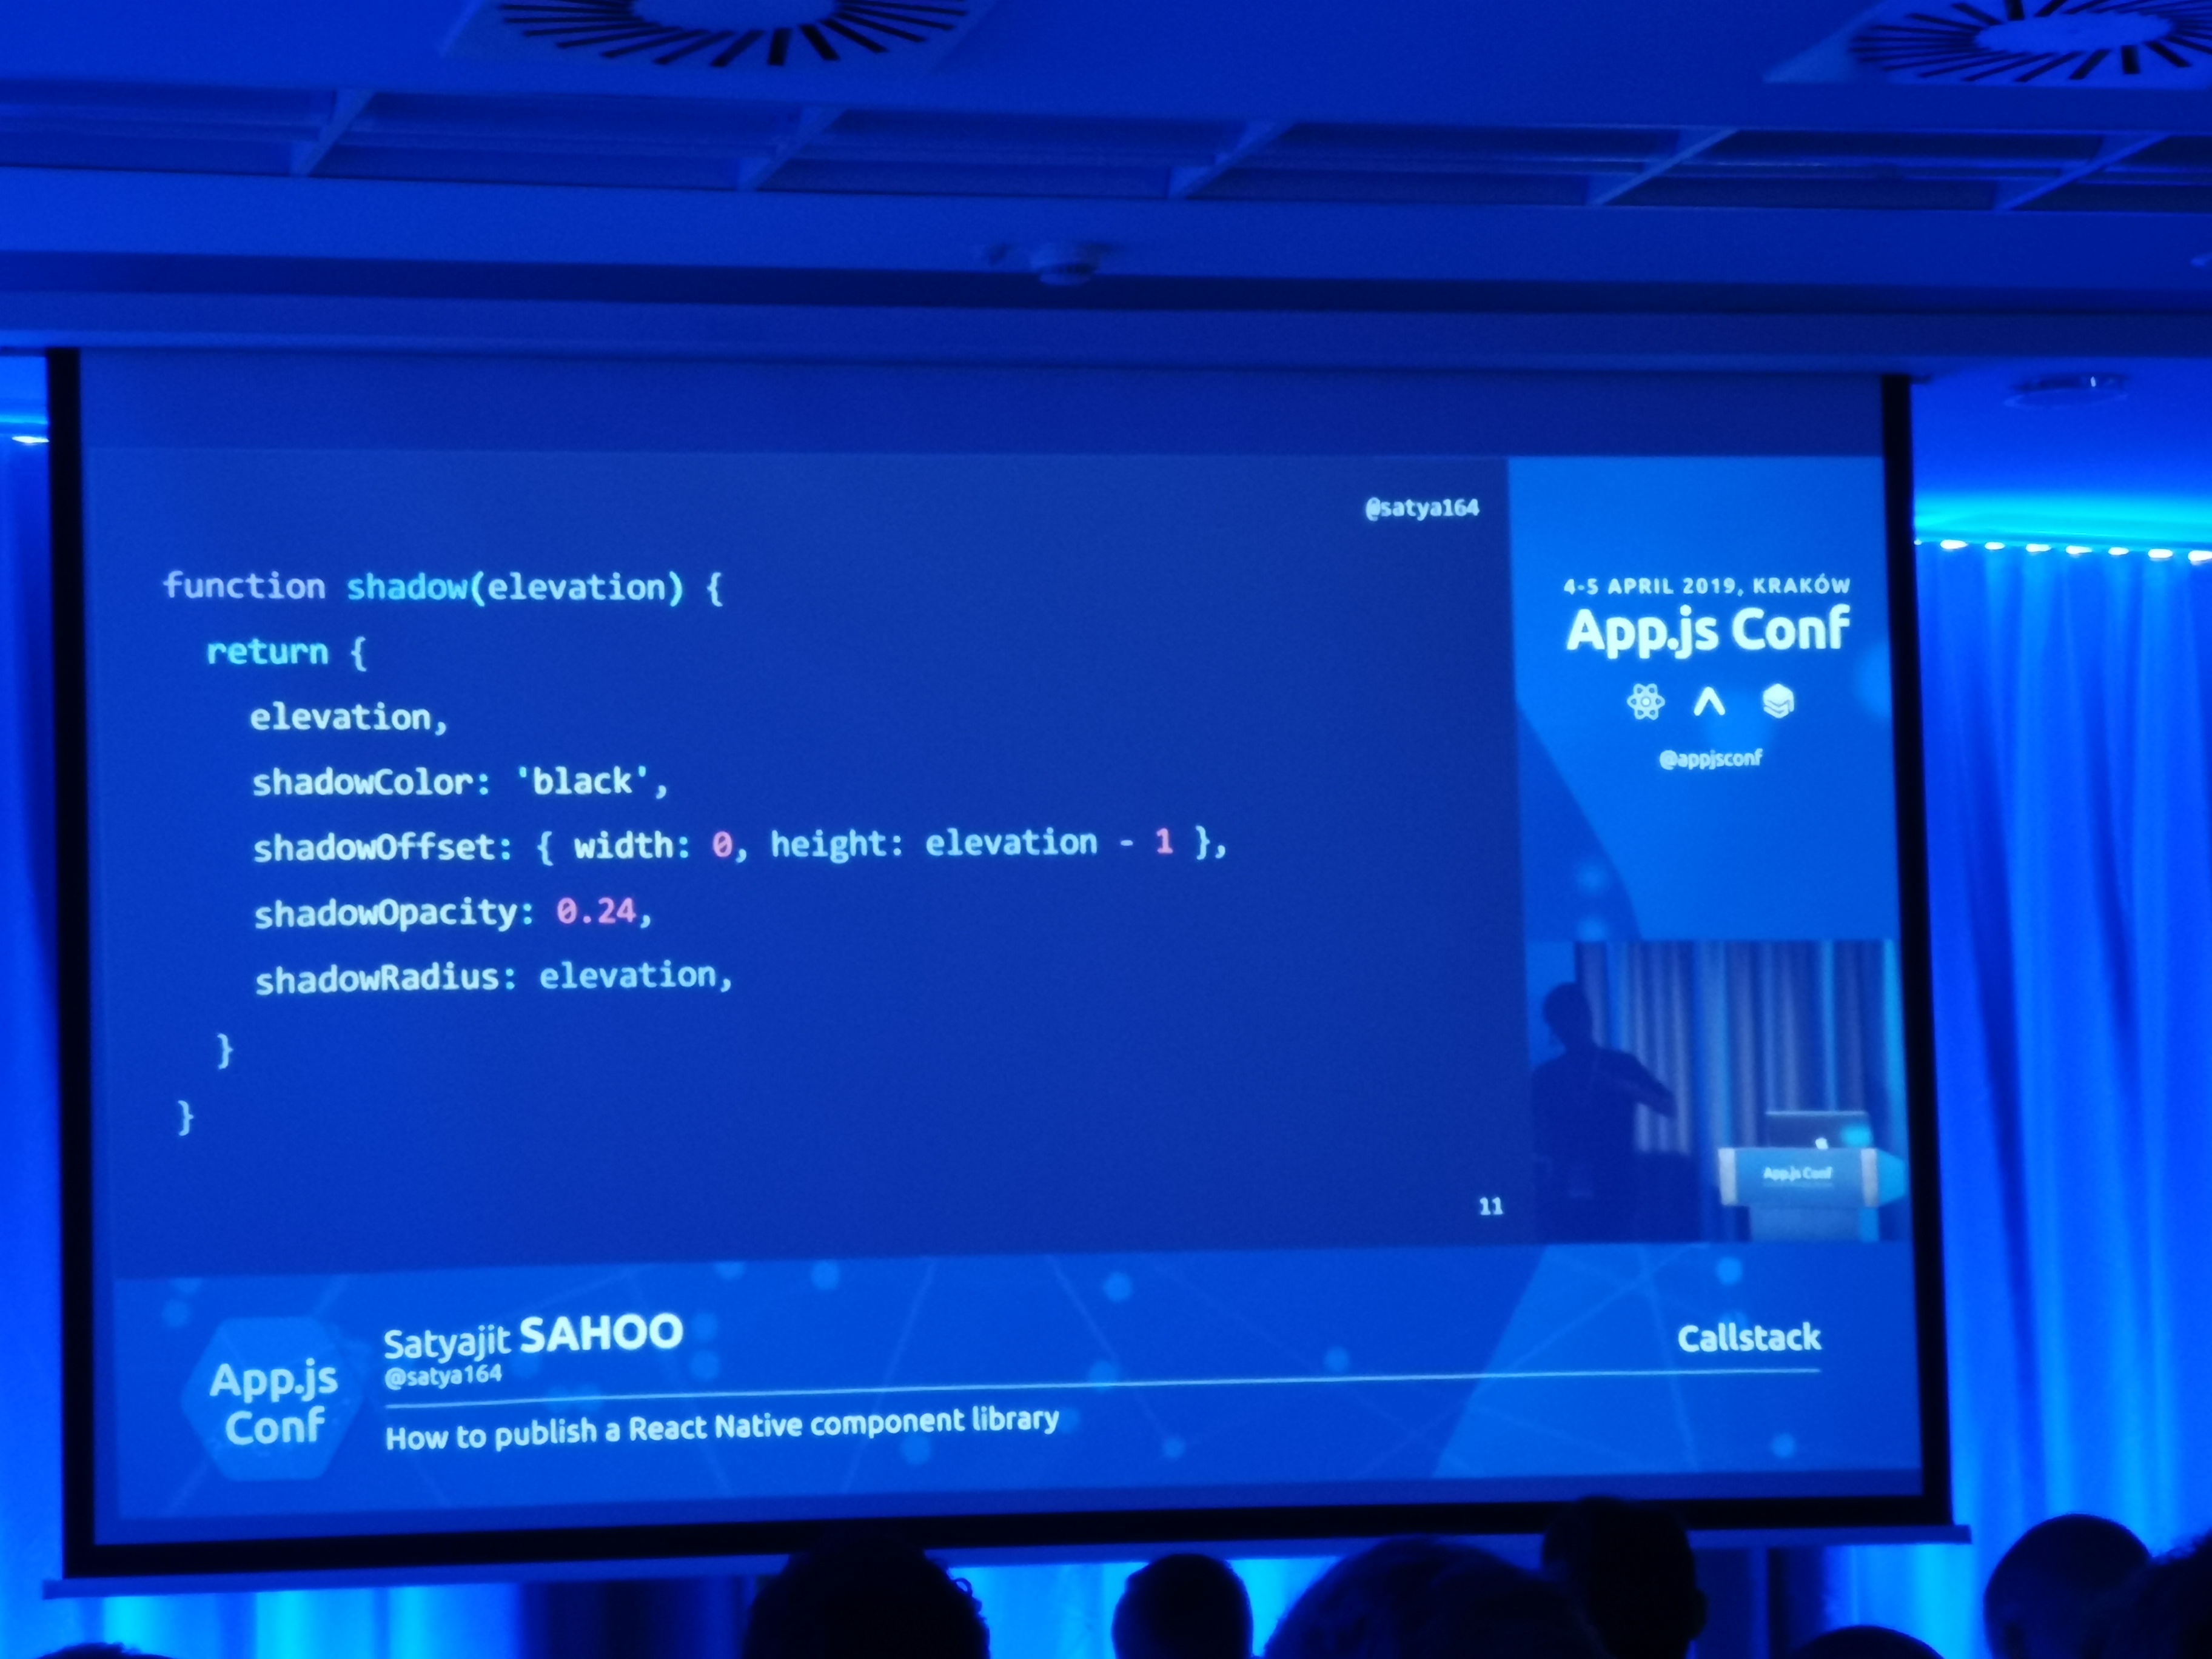
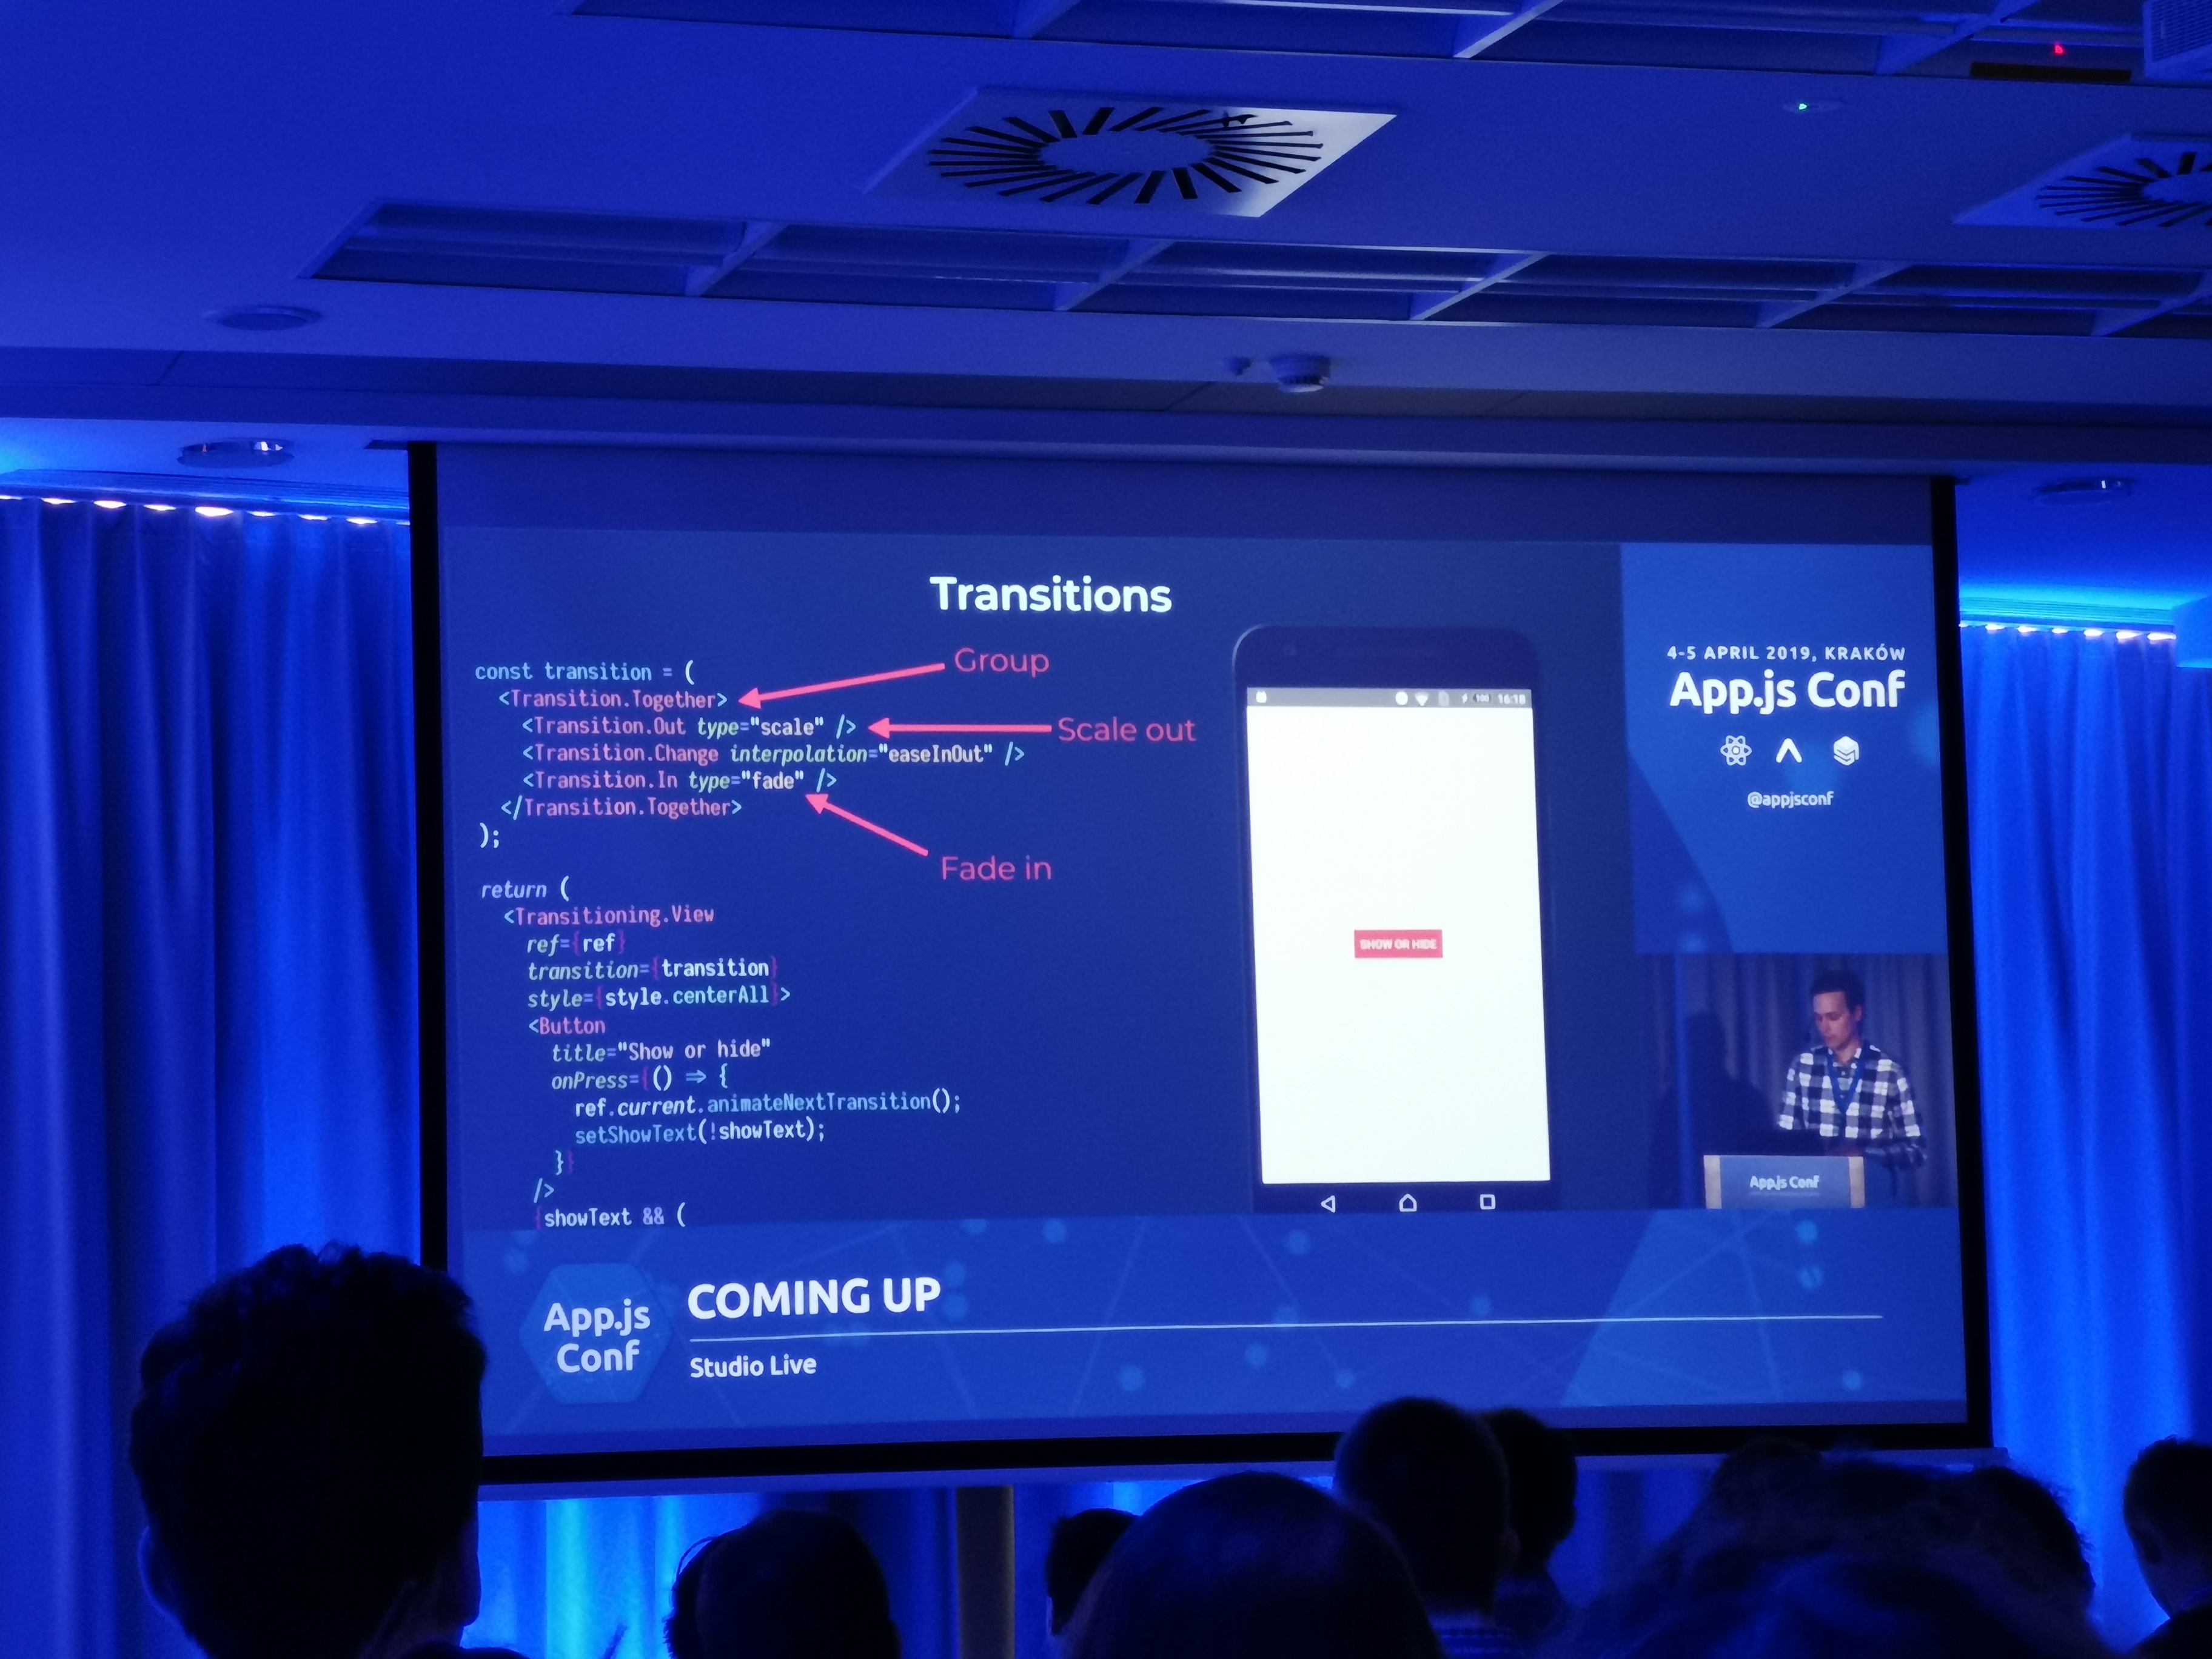
Or you could learn how to use transition effects or shadows, so they both behave the same on iOS and Android:
The day was also filled with other talks, ranging from accessibility to news from Expo world and experiences of companies with their first React Native apps.
At the second day I’ve attended the workshop called Building Full Stack GraphQL Applications with React Native & AWS AppSync and I’d like to focus on this more below. For me as a front end dev it was a very good experience and it showed me that using tools like React Native, AWS AppSync & AWS Amplify, building a scalable full stack app can be a one-man job, even for someone with not that much experience with back end.
AWS AppSync is a serverless back-end for web & mobile that uses GraphQL (an API query language for building client applications). AWS Amplify CLI is a toolchain used to create, integrate, and manage the AWS cloud services for your app. It includes support for authentication, analytics, functions, REST/GraphQL APIs, and much more. With these tools, JS knowledge is basically all you need in order to create a serverless full stack apps.
Below are listed main topics covered during the workshop, starting from basics.
Initializing a new AWS Amplify Project
After creating a new React Native app with either react-native-cli or expo-cli, it is time to install the AWS Amplify CLI with
npm install -g @aws-amplify/cli.
Please note that at this stage you should have your AWS account active – it is free, so I encourage you to try it.
Next step is configuring the CLI with your credentials using
amplify configure - you can find walkthrough of this process in this YT video.
To initialize the Amplify project, run amplify init in the root of your new React Native app.
You will be asked to provide the details for your project, such as name, your default editor, type of env, build command etc.
After that, the AWS Amplify CLI will initialize new project along with files with project configuration. You can view the status of your project using amplify status.
Adding a GraphQL API with AWS AppSync
Use the following command to add the GraphQL API: amplify add api.
You will be asked to select the service (in our case it’s GraphQL), provide the API name, etc. At this stage you can also choose to edit the schema now and amplify will open the generated schema file using the text editor you’ve chosen in the previous step. In there, you can update the schema to match your requirements, e.g.:
type Item @model {
  id: ID!
  clientId: String
  name: String!
  description: String!
}
When finished, you can push your configuration using amplify push.
Adding mutations in the AWS AppSync Console
You can add mutations and run queries from the AWS Console. To do that, navigate to your API and click queries.
In here you can add mutations to e.g. create new items in the API, or query for existing items.
Querying and mutating data from React Native App
First we need to import things we need from Amplify library.
import { API, graphqlOperation } from 'aws-amplify'
We will also need queries and mutations:
import { listItems} from './src/graphql/queries'
import { createItem } from './src/graphql/mutations'
Then you can query or mutate data.
- querying:
API.graphql(graphqlOperation(listItems)) - mutation:
API.graphql(graphqlOperation(
createRestaurant,
{ input: someNewItem}
))
Adding authentication
Use the following command to add authentication: amplify add auth.
After that you can run amplify push and the cloud resources will be created in your AWS account.
Then we can use the authenticator in our React Native app:
import { withAuthenticator } from 'aws-amplify-react-native'
Next we need to wrap our default export with withAuthenticator:
export default withAuthenticator(App, { includeGreetings: true })
That’s it – now you can sign up & sign in to your app. By default, the authenticator has some default styling applied to it and is basically not recommended for production use, but it’s easy to create custom authentication using **‘Auth’ from ‘aws-amplify’:
Auth.signUp({
  username,
  password,
  attributes: { email, phone_number }
})
That approach gives you full control over styling, fields etc.
Using Auth, you can also access signed-in user data by calling Auth.currentAuthenticatedUser(), or log out using Auth.signOut().
As you can see, with AppSync it is fairly easy to effortlessly create your own API and get it working within really short time. Once you go through initial configuration, creating a basic app should not take you more than one hour. You can check my example React Native app repo that was built using AppSync & GraphQL.


