Testing is an integral part of our process when we push new features live. We always strive to build and deploy the best user experience for the platform our customers use whether that is on smartphones, tablets or desktop computers. As we don’t have a vast stock of devices to test with, which our customers might use, we have narrowed down to a few tools that allows us to carry out fairly thorough testing for CurrencyFair. We’ll list here the tools that make this possible.
So, let’s get the testing started! :)
Chrome is our workhorse
We normaly do all our developing (and initial testing) on Chrome because of all the extensive dev tools that comes incorporated with it. Alternatively, some of us have Chrome Canary which is Google’s version of Chrome where they push the very latest developments for the browser not ready to be carried on to the main Chrome. Having said this, there’s not much we can say about these browser versions other than they are our default browsers to do the majority of our frontend work and they are awesome.
Other browsers
We all work on Macbook Pros and we test on the most popular free browsers out there available for Mac. Not only becasue they are popular and free but because many of our customers use them and they are reliable and secure. Outside of Internet Explorer these are the most popular browsers:
Even though all these browsers are available for Windows, Linux and Mac we don’t run tests on them within these specific platforms as we haven’t found any issues from customers related to the platform (yet).
IEVMS - Internet Explorer Virtual Machines

A big portion of our customers use CurrencyFair on Internet Explorer and within it they are divided primarily on users using IE8 and IE11 followed by IE9 and IE10 with a minor number still on IE7 which we currently support. For testing on all these Greg Thornton has put together a lovely and handy script i.e. IEVMS, to super easily install the virtual machines which microsoft has made available to developers for testing.
Essentially all you need to do first is to install Virtual Box. Once you have it installed, open your terminal and type this curl command:
curl -s https://raw.githubusercontent.com/xdissent/ievms/master/ievms.sh | env IEVMS_VERSIONS="7 9" bash
There are numbers you see here indicating the versions of IE that you want currently with a choice of IEVMS_VERSIONS 6, 7, 8, 9, 10 and 11.
or if you want to install everything in one go, just run:
curl -s https://raw.githubusercontent.com/xdissent/ievms/master/ievms.sh | bash
Et voilá, you are ready to test on IEs.
iPad and iPhone Testing
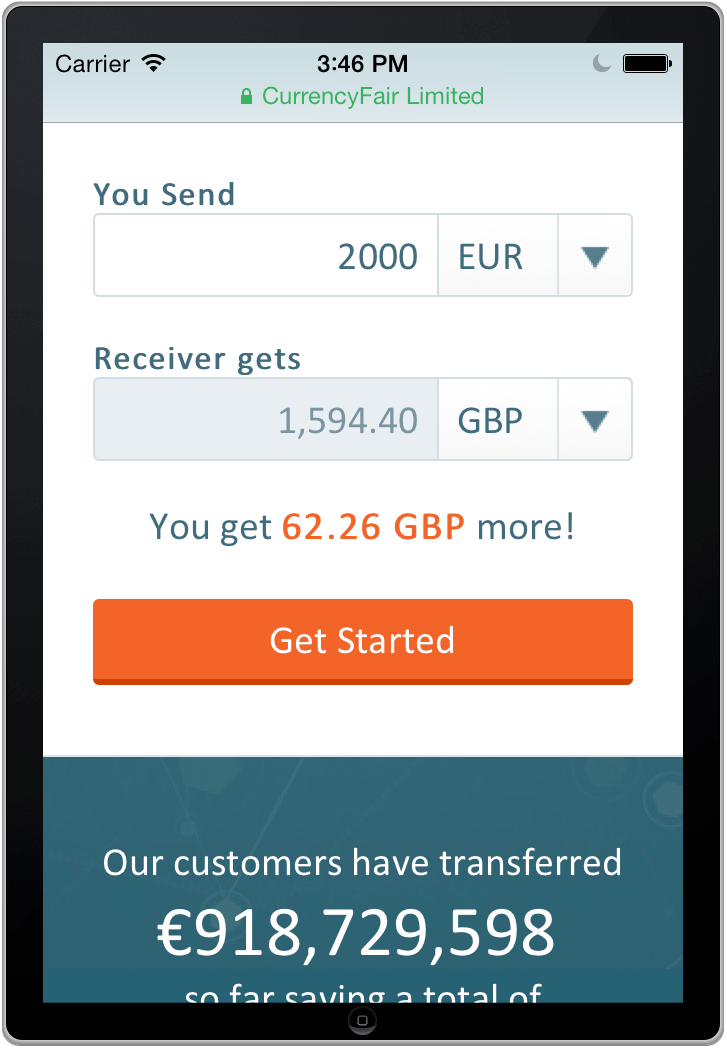
Another big portion of our customers use mobile devices (nowadays this is barely a surprise, ain’t it?) and because of this we have created a section on its own. Most of our traffic comes from iPhone devices closely followed by iPad devices and it is because of this that we spend a considerable amount of time to make sure that CurrencyFair works well across these two device types.
It’s common knowledge that testing in devices itself is the prefered way to go and we do so, but for the sake of speed as we develop features or sort bugs we use emulators. For Apple devices we use Xcode which come with all the components you may need.
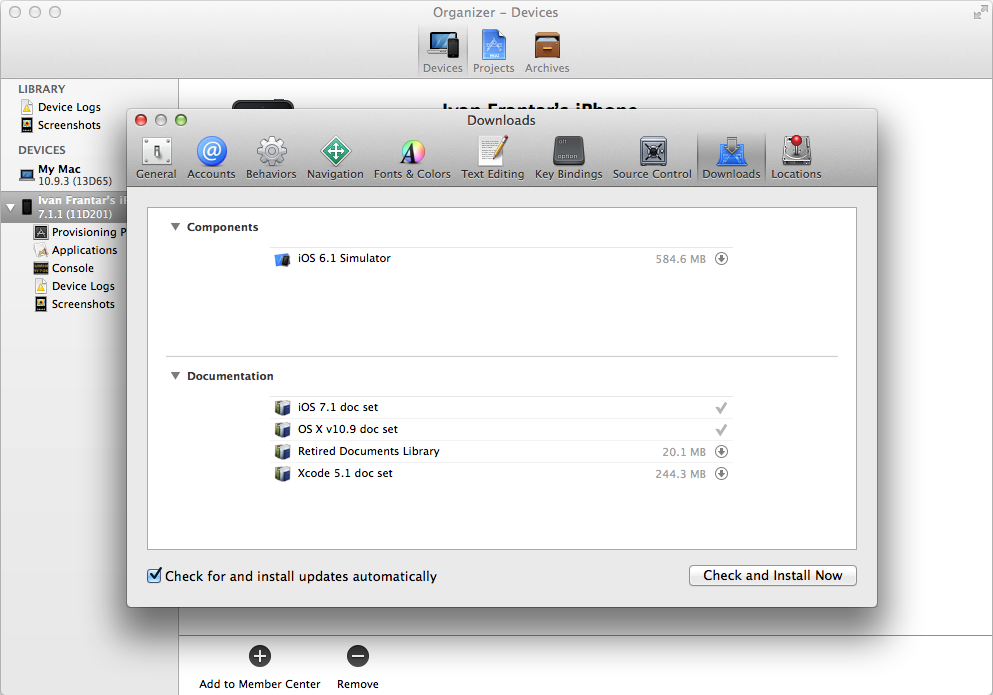
You can access this panel in Xcode if you go to Preferences > Downloads. Here for instance I have already installed iOS 7 and it’s offering us the option to install iOS 6. You can see in the following screen all the different hardware types you can use to test on

Again, once we are happy with testing on these emulators, we have a go with the devices themselves which usually gives us a feel of how things are really working in terms of gestures and user experience.
Android Testing
As with the iOS Emulator, Android also has its emulator you can use to test your sites. The interesting thing about Android—or annoying thing perhaps—is that there are a lot of different devices using Android which makes it a bit difficult to test if you want to cater for every possible screen out there. How and ever, should you find yourself in need of a specific screensize or screen resolution or Android OS version, you can start by downloading the Android SDK. After you do so, go to the folder where you have put the SDK, double click it, get in to the tools folder and right-click and open the ‘android’ file which will present you with a list of options of API’s you can install:
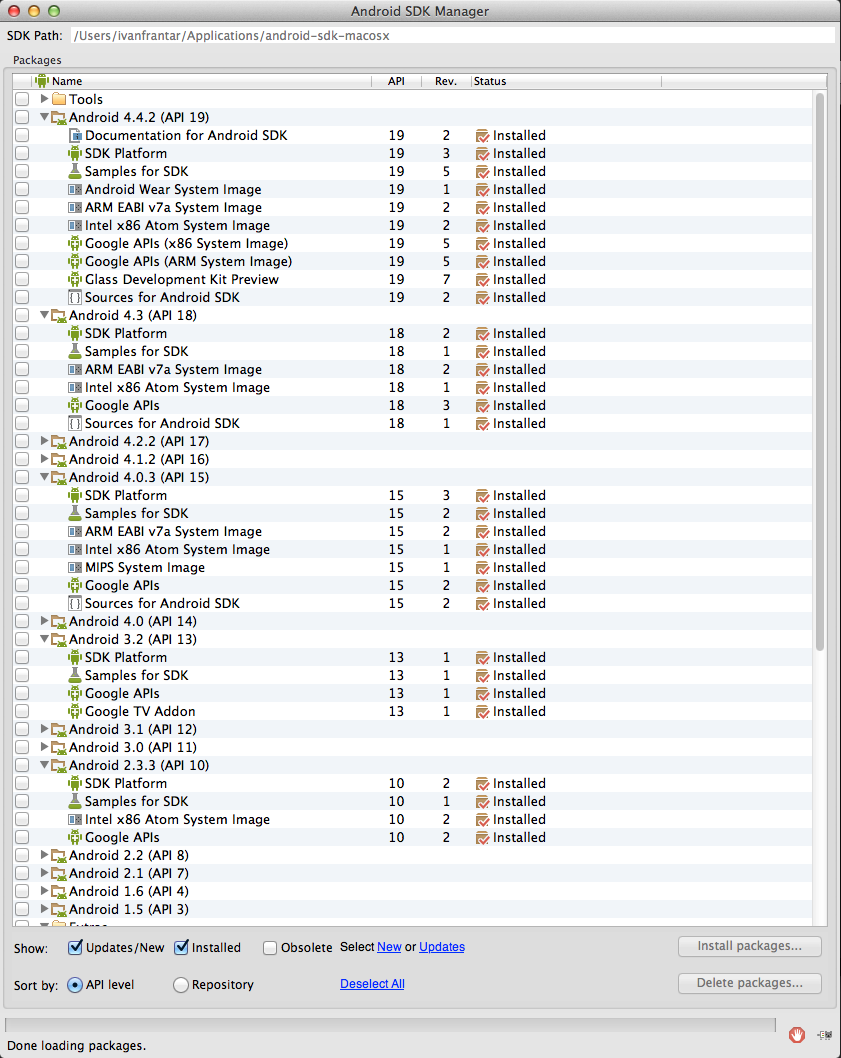
Here you have a list of API’s you can install. In our case, you can see that we are currently testing Jelly Beans, KitKat, Ice Cream Sandwich and Gingerbread. As each scenario is different you can choose to install whatever is suitable for your needs and as you can see it works quite well in the screenshot below showing a VM we created with KitKat.
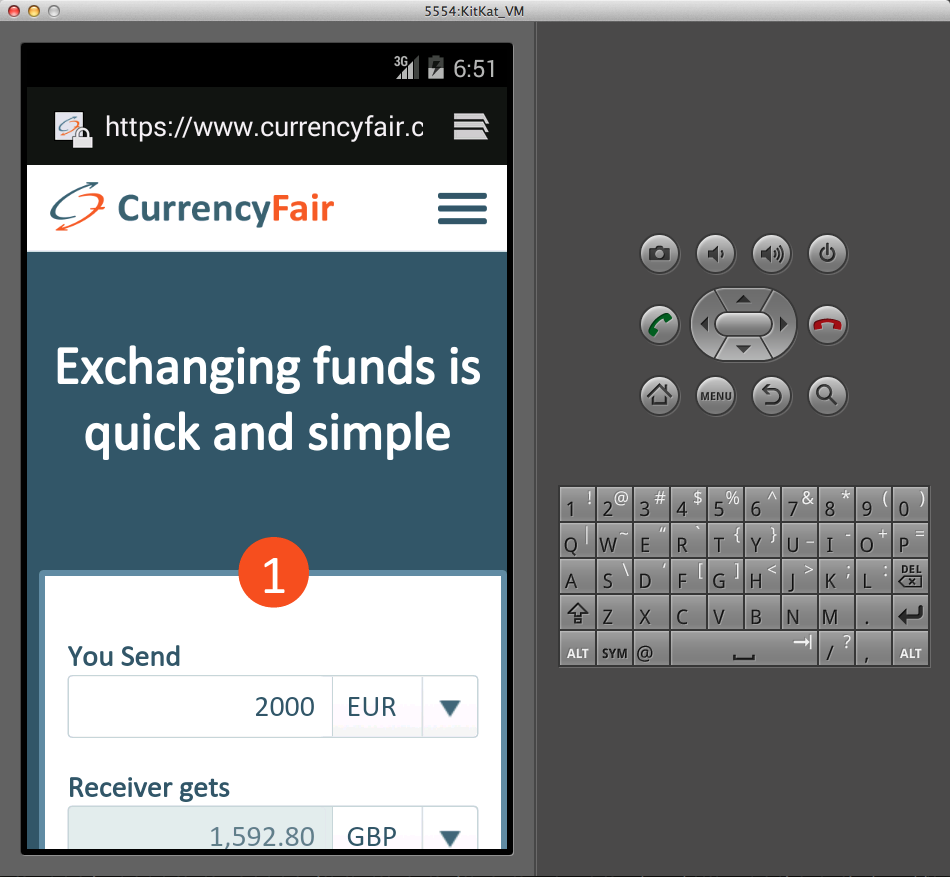
The only drawback the Android Emulator has is that it is really slow and we don’t know if there’s a way to speed it up. All in all, if you are in an extreme case of trying to track a specific bug, it can help a lot.
There are many tutorials on how to set up this environment and here is one with good details and explanations we found where it shows you how to set up your enviroment variables, to run the SDK commands and build VM’s that you need.
Debugging on Android with Chrome
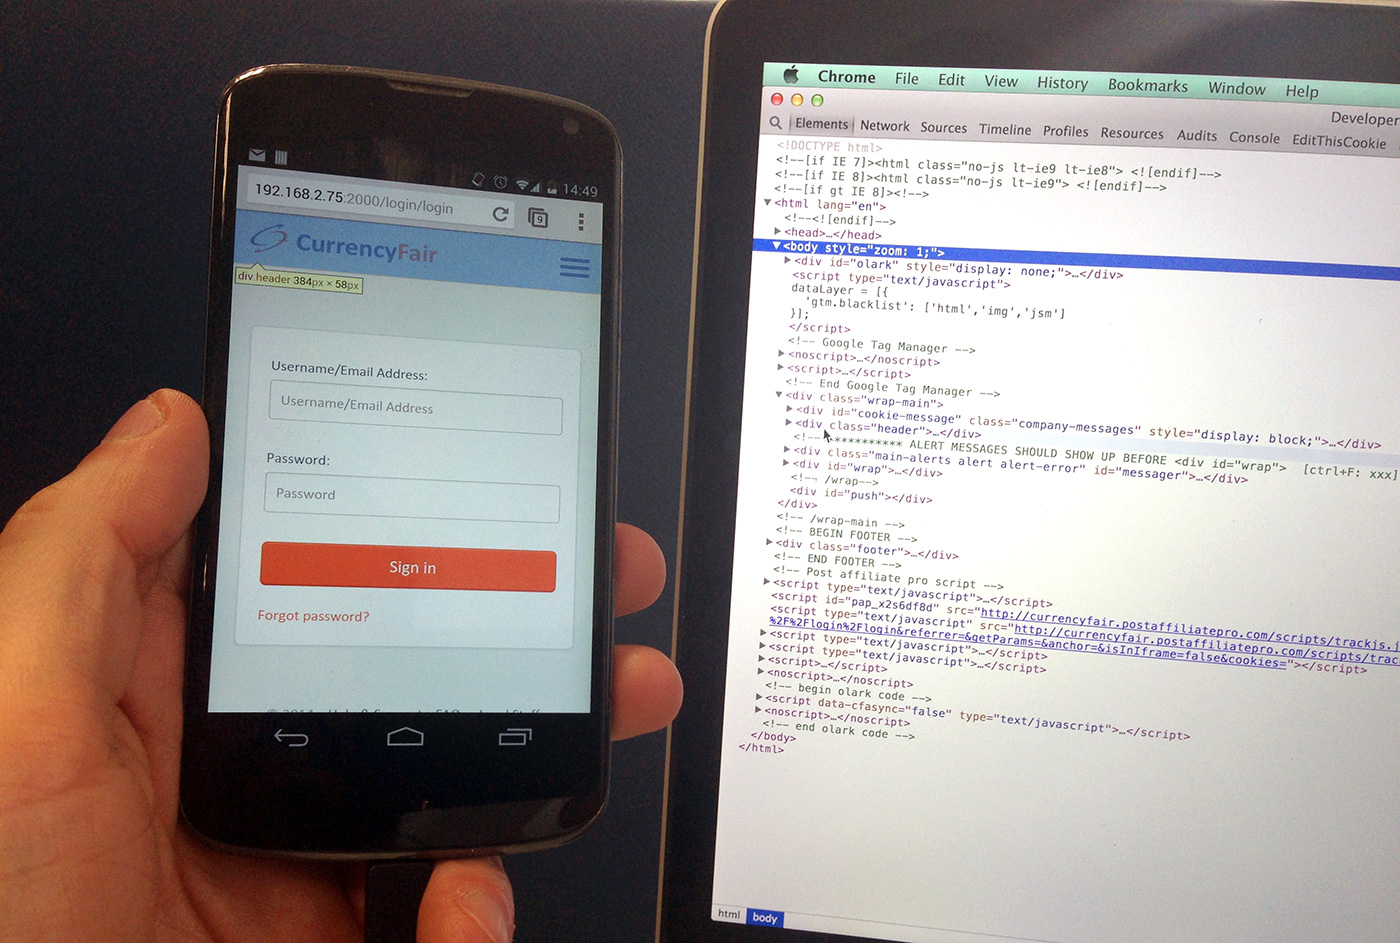
Another good way to test directly from your Android device is to use Chrome Remote Debugging which allows you to inspect with dev tools any site that you are viewing on your device through a USB Cable. If you check out the remote debugging page you’ll see how easy it is to set up and you’ll see some other features you can use beyond testing such as screencasting.
Adobe Edge Inspect CC
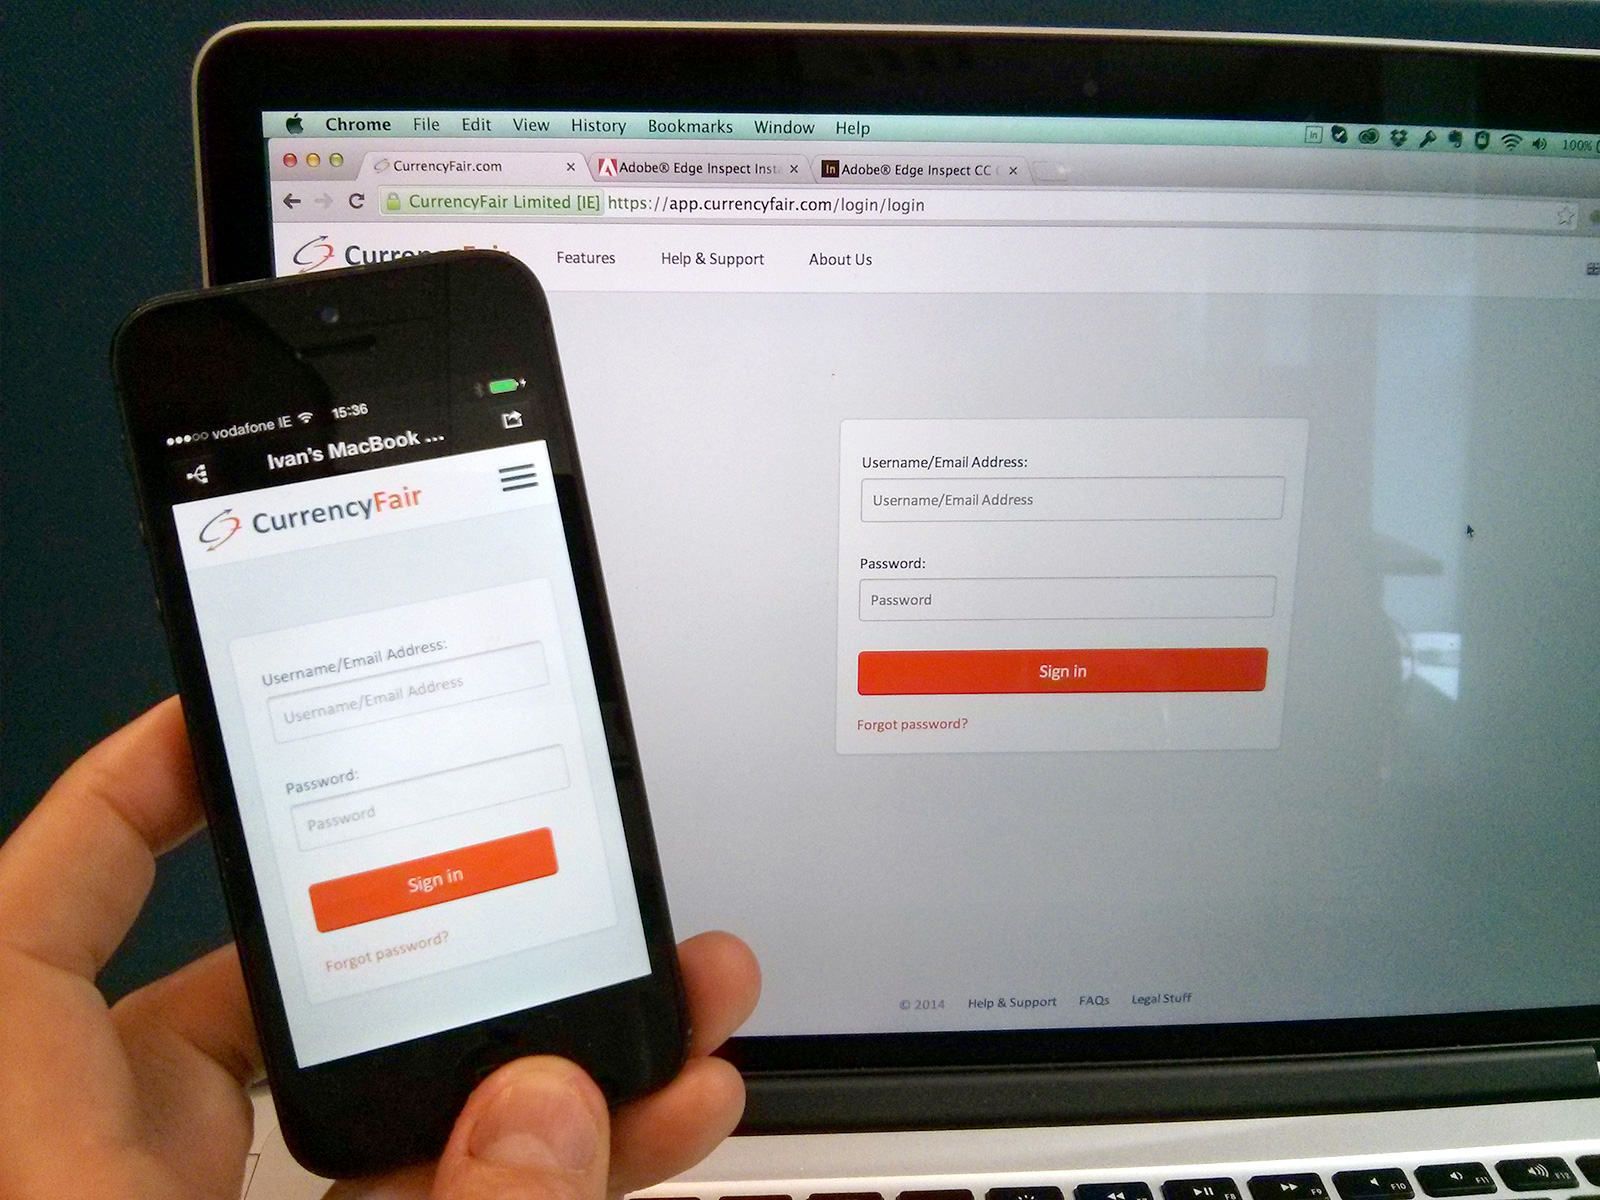
The last alternative we wanted to mention is Adobe Edge Inspect. This one as you can tell is Adobe’s solution for testing on mobile devices and it doesn’t come free, unfortunatelly, but if you have an Adobe Creative Cloud subscription it is worth checking it out. It’s slightly similar to Chrome Remote Debugging but with Edge Inspect you can preview on your mobile device (not debugging as using Chrome DevTools) what you are browsing on your desktop computer, which is a similar type of setting to what you find on Open Device Labs.
To see how Adobe Edge Inspect gets set up, follow these steps from the Adobe website.
Closure
That is it for now. We hope we covered here some interesting tools to test your responsive website and hopefully it’ll help your team test more confortably to deliver a better product to your users whatever platform they are on. If there are more cool tools you guys are using, as always, share your tips with us ;)
